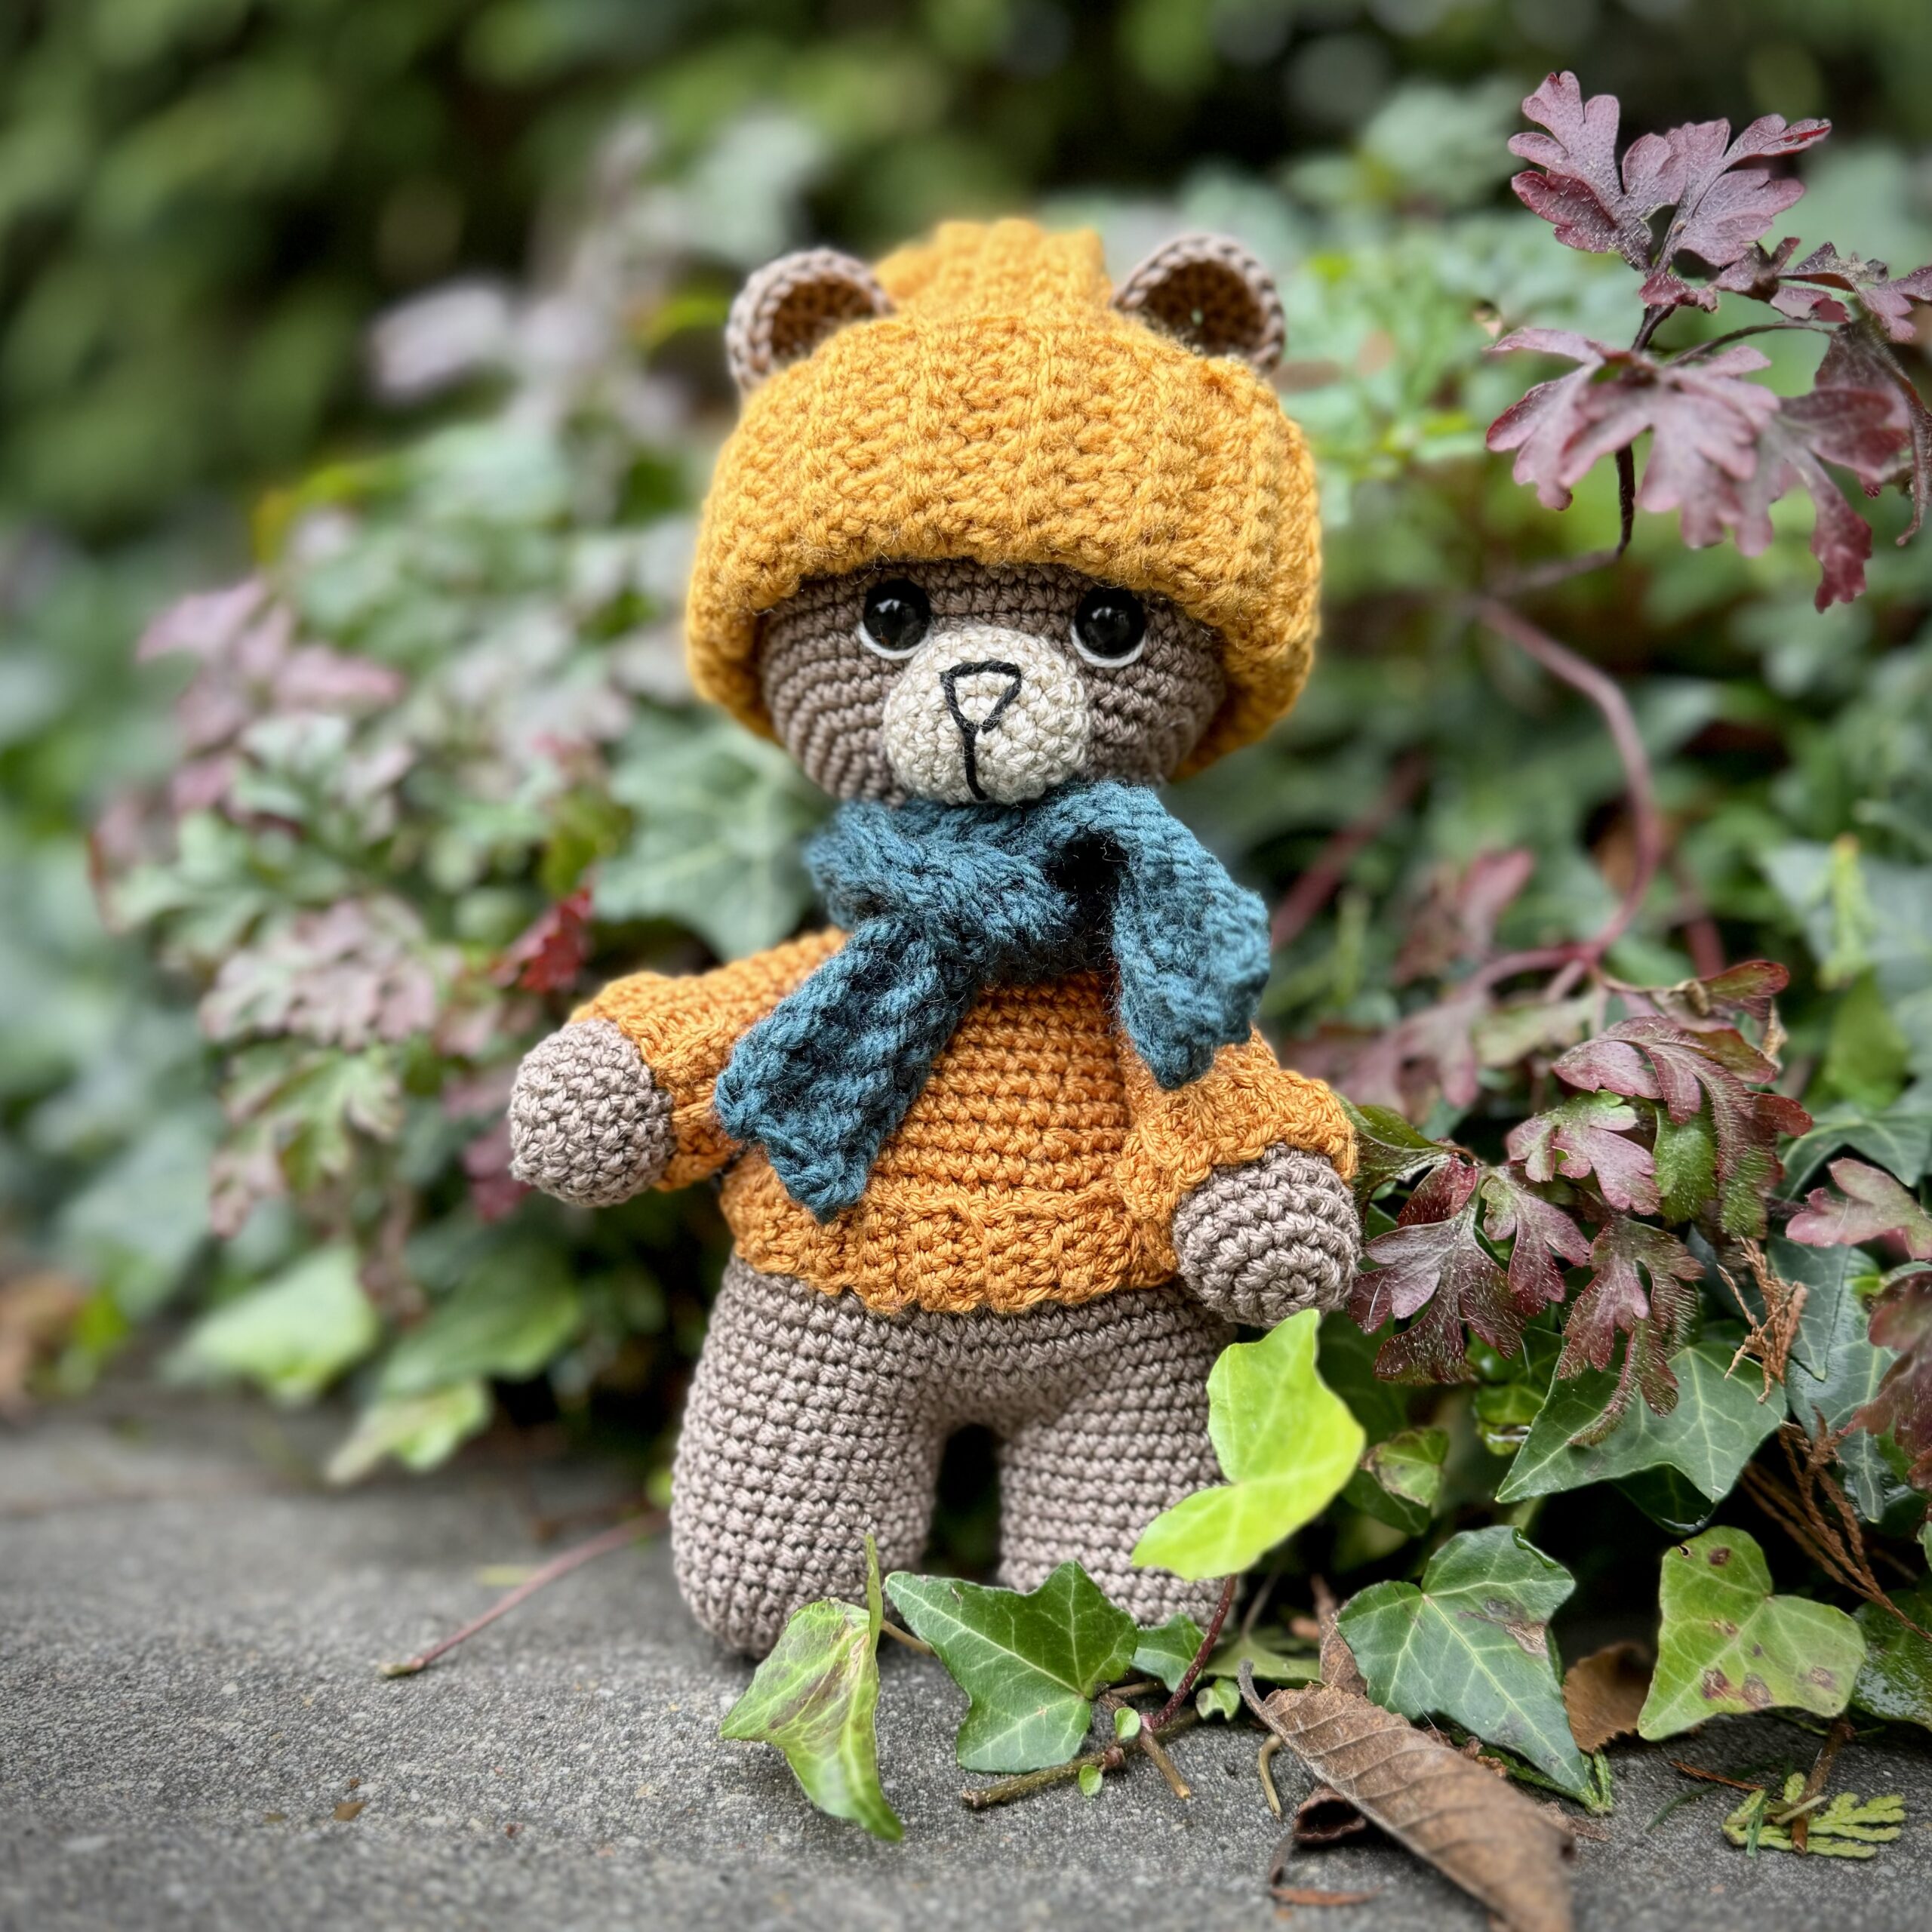
Fall always provides a lot of inspiration for fun crochet projects: hats, scarves, or fun amigurumi creations and a lot more. I made this cute bear for example, the pattern of which you can find HERE.
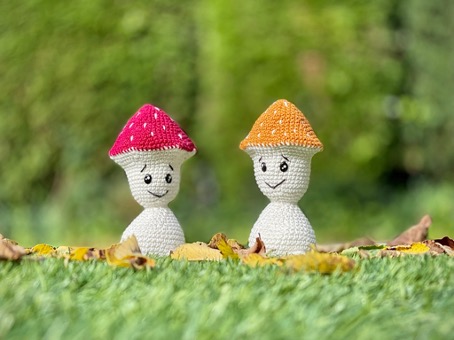
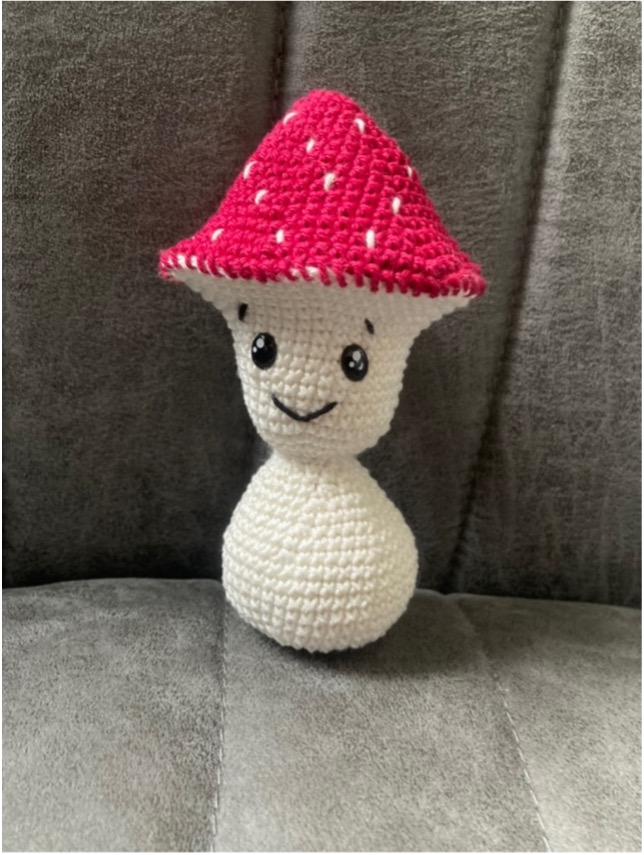
I always like to bring the fall into my home and that’s how the idea arose to design a nice mushroom. One that you can make quickly and is not too big. In different colors and can then be placed nicely in your home!
In this blog I will work out my free pattern for you.
What do you need to create this mushroom?
Abbreviations
Mr = Magic ring
sc = single crochet
sl.st. = slip stitch
inc = increase (2 sc in one stitch)
dec = decrease (sc 2 together)
st(s) = stitch(es)
This pattern is copyrighted, so please do not copy/publish it in any way. There is a lot of work in devising and writing out all the patterns, so please respect this 😊 Posting the mushroom yourself on your socials, with a reference to me, is of course very much appreciated!
Body (white)
Stuff the body in between
1. | 6 sc in the mr | 6 |
2. | Inc in each st | 12 |
3. | (1 sc, inc) x6 | 18 |
4. | (2 sc, inc) x6 | 24 |
5. | (3 sc, inc) x6 | 30 |
6. | (4 sc, inc) x6 | 36 |
7. | (5 sc, inc) x6 | 42 |
8-12 | Sc in all 42 sts | 42 |
13. | (5 sc, dec) x6 | 36 |
14. | Sc in all 36 sts | 36 |
15. | (4 sc, dec) x6 | 30 |
16. | Sc in all 30 sts | 30 |
17. | (3 sc, dec) x6 | 24 |
18. | (2 sc, dec) x6 | 18 |
19. | Sc in all 18 sts | 18 |
20. | (1 sc, dec) x6 | 12 |
| We are going to enlarge again, make sure to stuff the neck firmly |
|
21. | (1 sc, inc) x6 | 18 |
22. | (2 sc, inc) x6 | 24 |
23. | (3 sc, inc) x6 | 30 |
24. | (4 sc, inc) x6 | 36 |
25-32. | Sc in all 36 sts | 36 |
33. | (5 sc, inc) x6 | 42 |
34. | (6 sc, inc) x6 | 48 |
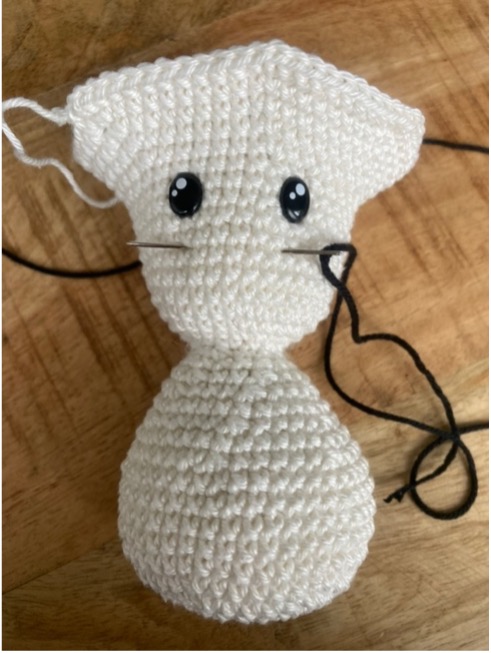
| Place the safety eyes in round 30, with 5 sts gap between |
|
35. | (7 sc, inc) x6 | 54 |
36. | (8 sc, inc) x6 | 60 |
37. | (9 sc, inc) x6 | 66 |
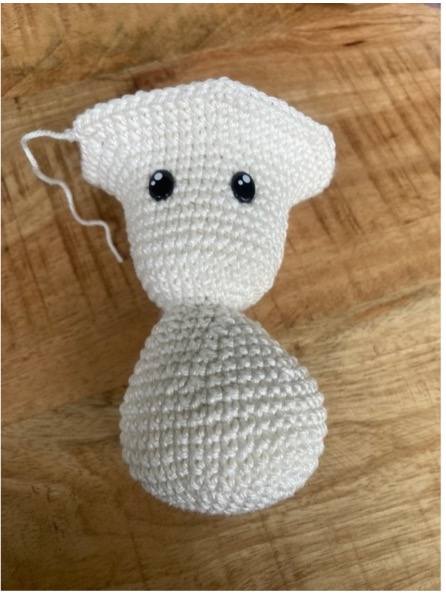
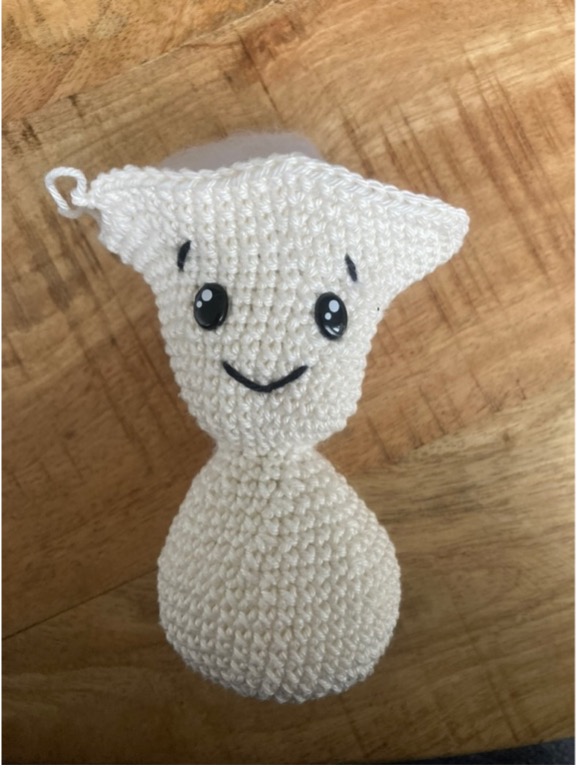
Finish with a sl.st. and fasten off. We will use the red/yellow wire for confirmation later.
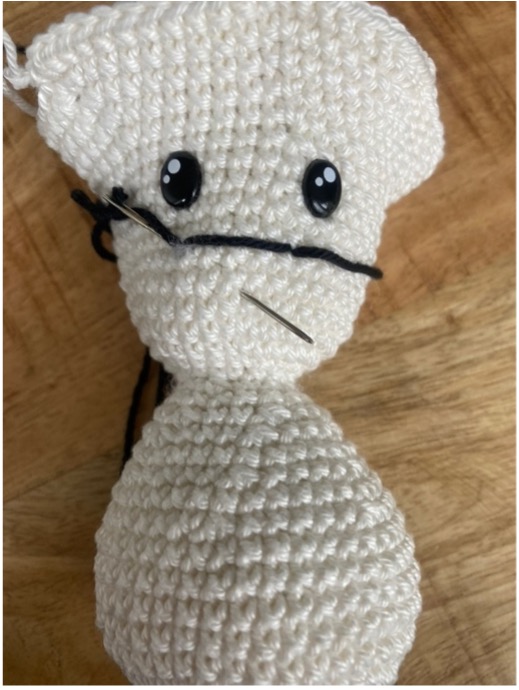
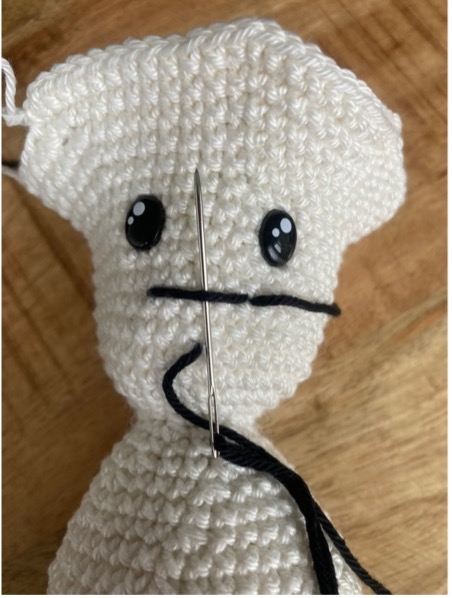
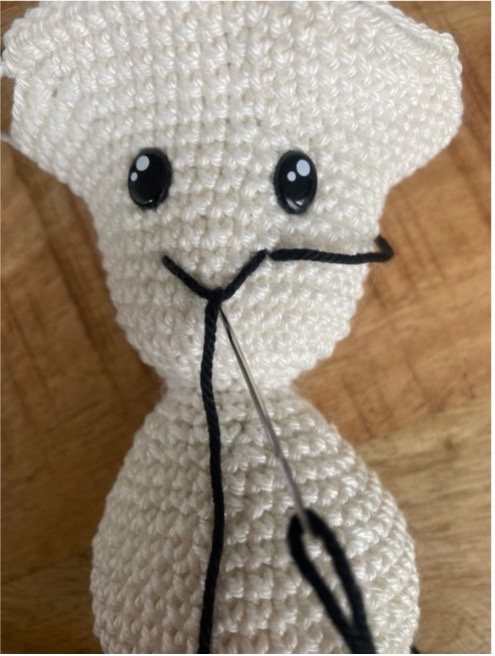
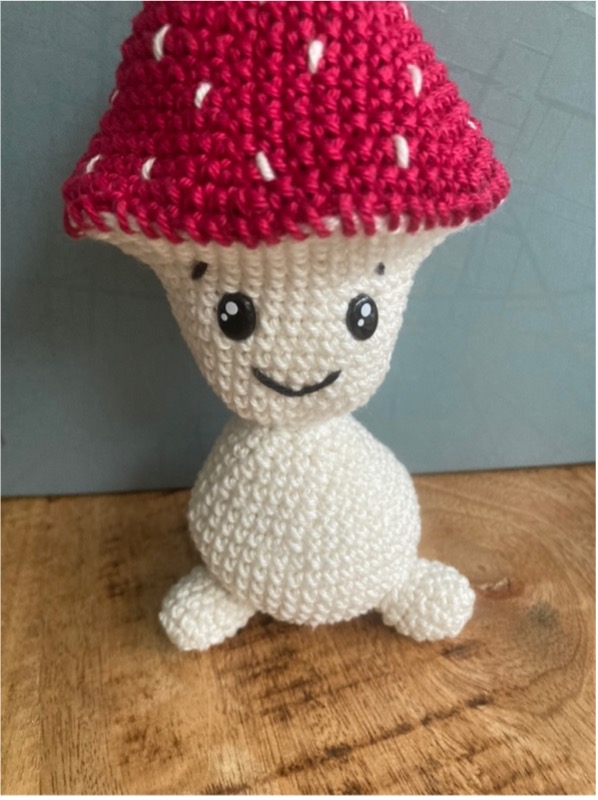
With the black thread you can now make a mouth and eyebrows.
You can then create eyebrows above the eyes and then neatly conceal the threads.
Top of the mushroom (red or yellow).
1. | 6 sc in the mr | 6 |
2. | Inc in each st | 12 |
3. | (1 sc, inc) x6 | 18 |
4. | Sc in all 18 sts | 18 |
5. | (2 sc, inc) x6 | 24 |
6. | (3 sc, inc) x6 | 30 |
7. | Sc in all 30 sts | 30 |
8. | (4 sc, inc) x6 | 36 |
9. | Sc in all 36 sts | 36 |
10. | (5 sc, inc) x6 | 42 |
11. | Sc in all 42 sts | 42 |
12. | (6 sc, inc) x6 | 48 |
13. | (7 sc, inc) x6 | 54 |
14. | (8 sc, inc) x6 | 60 |
15. | (9 sc, inc) x6 | 66 |
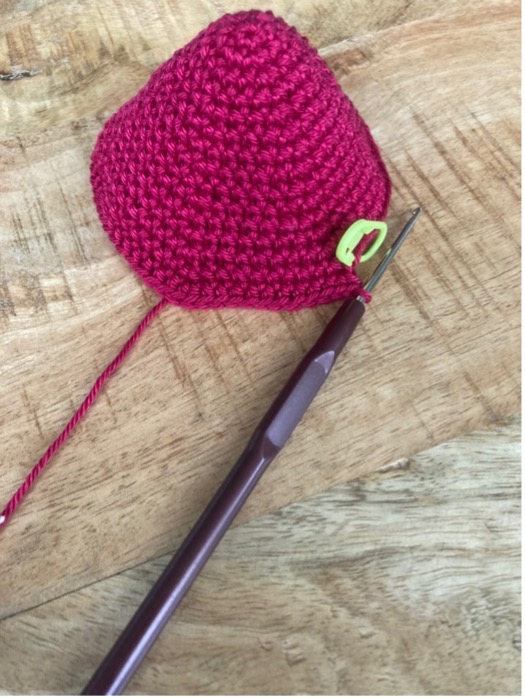
Finish with a sl.st and fasten off, leaving a long thread so you can attach the top to the body later.
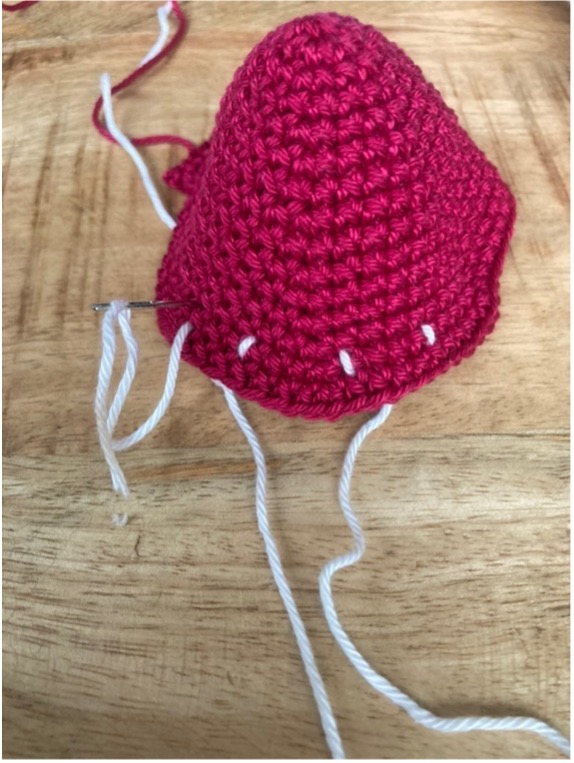
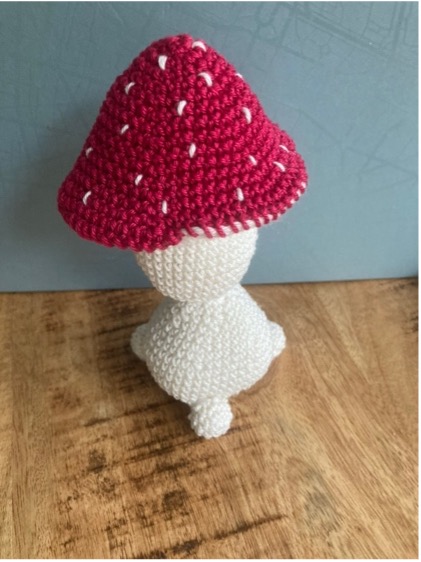
You can then use the white thread to make dots on the red part.
I made the dots the size of a single crochet as you can see in the photo above. Make as many dots as you like and find beautiful.
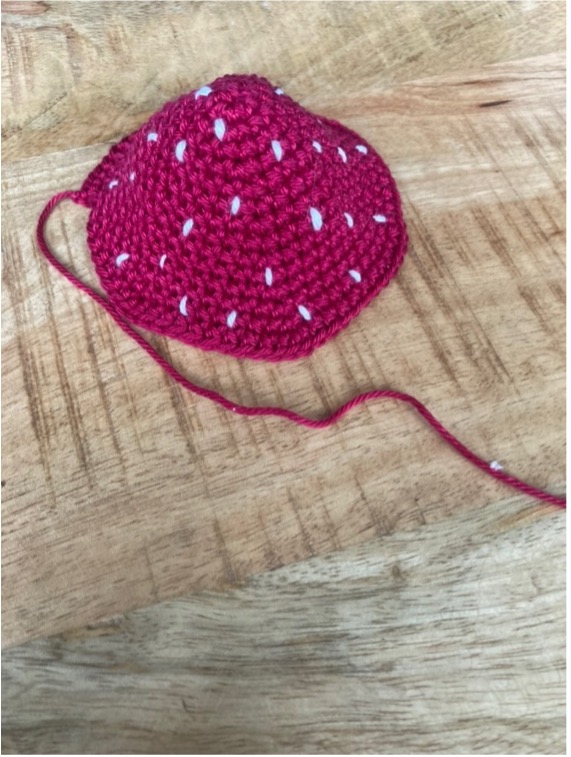
You can then attach the red part to the body by neatly sewing all 66 stitches together. Once you still have a small opening you can fill in the red part. Don’t fill it too full, otherwise it will bulge a lot at the edges. You’ll see this soon enough. After this, you can neatly hide away the threads.
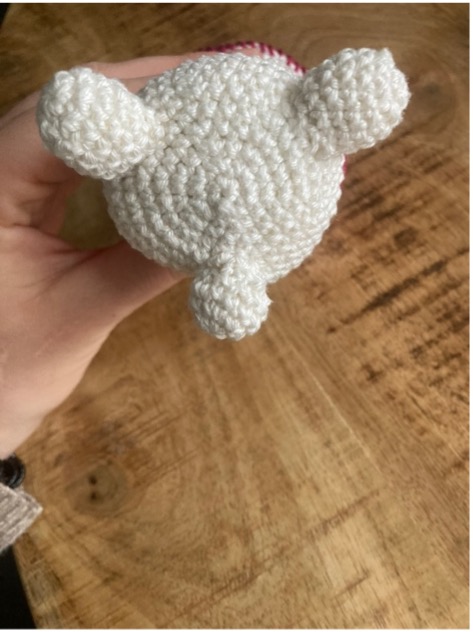
To ensure that the mushroom stays in place, I added legs and a little tail.
Legs (white)
1. | 6 sc in the mr | 6 |
2. | Inc in each st | 12 |
3-6 | Sc in all 12 sts | 12 |
Finish with a sl.st and leave a thread for attachment. Fill the legs lightly.
Attach the legs to the body. Do this low enough so that the mushroom can rest on it. You can decide how far apart you want them to look based on what you like😊. First secure them with pins to see if they provide good support. There will be a tail at the back.
Tail (white)
Lightly fill the tail
1. | 6 sc in the mr | 6 |
2. | Inc in each st | 12 |
3-4 | Sc in all 12 sts | 12 |
5. | Dec 6 times | 6 |
Finish with a sl st and leave a thread for attachment. Attach the tail in the same way as the legs, bottom center. See the photo below for clarification.
And just like that, the mushroom is ready! I hope the description was clear enough and you find this pattern useful😊 Have fun with the mushroom!
With love, Margo